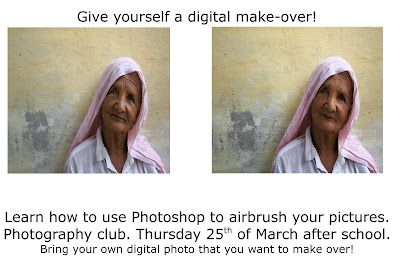
This is a Poster that I made to advertise a workshop that I ran during after school Photography Club. this workshop was announced in Assembly and i set it up in order to try to get more kids to come to the club. Not many turned up but I got to use impero and broadcast my Photoshop activities from the big screen which was great!

Digital makeover.
Right click on image – open with Photoshop.
Make image window the size of screen.
Go to window – layers
Drag layer down to box at bottom of layer window which says 'create a new layer' and copy it.
Click on box with a circle in which says 'add layer mask'.
Click on picture in the top layer.
NOW YOU ARE READY TO START MAKE OVER.
Zoom in on the picture by pressing Cmd + to 100 %.
Now choose the bits you would like to 'make over'. Eg lines on the face, spots, pores.
Clone tool
looks like a stamp; in left hand tool bar.
Click on it.
Find a clear bit of skin. Hold down alt and click.
Move arrow to the line/blemish you want to remove.
Hold down click and move over the line; you will see that the part of the image you selected is cloned over the top of this line.
Experiment with the different settings along the top tool bar; brush size, opacity, etc, until you get the effect you want.
Healing brush tool.
Looks like a plaster; right click; click on healing brush tool.
Works like a paint brush; hold down click and move it over the line you want to get rid of like you are painting it in. its like spreading paint; do it in the direction you want to spread the pixels in.
Experiment with the different settings along the top tool bar.
Changing skin tone, eg if you want to get rid of red cheeks
Go to image – adjustments – try hue and saturation or colour balance.
Now make effect more natural;
Go to 'opacity' setting in right hand side of layer box. Alter opacity until effect looks more natural.


0 Comments to "Give yourself a digital Makeover!!!"